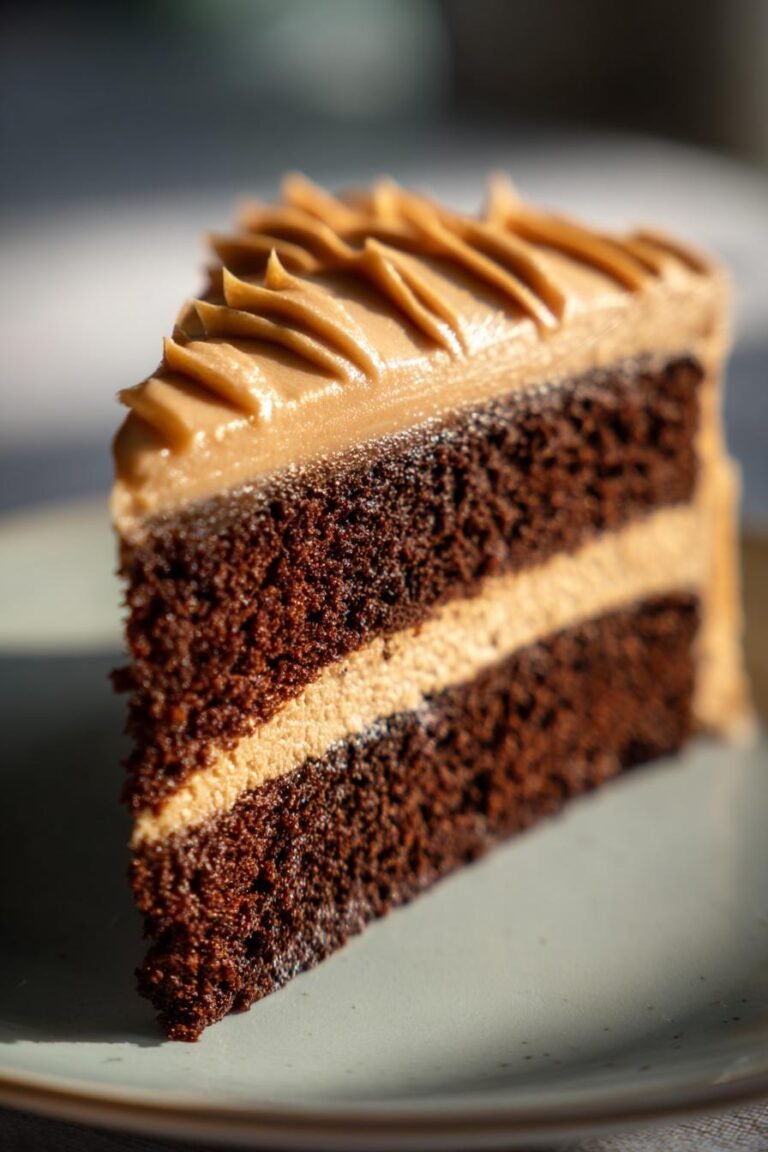
Haunted Forest Cake Roll: A Spooky 15-Minutes Dessert

Halloween baking has always been my favorite kitchen adventure – it’s the one time of year when I can go wild with creepy decorations and edible magic! My haunted forest cake roll became an instant hit when I first served it at our neighborhood Halloween party. Picture this: a soft, fluffy chocolate cake rolled around clouds of whipped cream, then transformed into a spooky edible masterpiece with ghostly trees and eerie silhouettes.
What makes this haunted forest cake roll special isn’t just its creepy-cute appearance (though watching kids’ faces light up when they see it never gets old). It’s actually surprisingly simple to make, even if you’re not a piping pro. After years of testing Halloween recipes professionally, I’ve perfected techniques that give maximum spooky impact with minimal stress.
This recipe combines my grandmother’s classic Swiss roll technique with my love for theatrical desserts. The secret? A moist cake that rolls beautifully without cracking and decorations simple enough for beginners but impressive enough to wow your Halloween guests.
Why You’ll Love This Haunted Forest Cake Roll
Trust me, this isn’t just another Halloween dessert – it’s the kind of showstopper that’ll have your guests snapping pictures before they even take a bite! Here’s why it’s become my go-to spooky season treat:
- Maximum spookiness, minimum effort: The haunted forest design looks fancy but only requires simple piping – even my first attempt turned out Instagram-worthy!
- Perfect make-ahead dessert: You can bake and roll it the day before, then add the creepy decorations right before serving.
- Softer than a ghost’s whisper: That whipped cream filling keeps every slice deliciously moist for days (if it lasts that long!).
- Customizable creep factor: Go full haunted forest or simplify with just ghosts – it’ll still wow at any Halloween party.
- Kids adore it: My niece actually gasped when she saw last year’s version – and then demanded thirds!
The best part? That moment when you unroll the towel to reveal a perfect spiral – pure baking magic every single time.
Ingredients for the Haunted Forest Cake Roll
Gathering your ingredients is like preparing spells for Halloween magic – precision matters! Here’s exactly what you’ll need to conjure up this spooky delight:
- 4 large eggs (room temperature makes them fluffier)
- 3/4 cup granulated sugar (I use regular white sugar)
- 1 teaspoon pure vanilla extract (the good stuff makes a difference)
- 3/4 cup all-purpose flour (measured correctly – spoon and level!)
- 1 teaspoon baking powder (check it’s not expired)
- 1/4 teaspoon fine salt (balances the sweetness)
- 1/4 cup powdered sugar (for dusting the towel – don’t skip!)
- 1 cup heavy whipping cream (must be cold straight from fridge)
- 1/2 cup chocolate frosting (store-bought or homemade)
- Black gel food coloring (liquid won’t give that deep haunted shade)
See? Mostly pantry staples transformed into something wonderfully eerie. Just wait until we work our decorating magic!
Equipment You’ll Need
You probably have most of these haunting helpers already! Here’s the shortlist:
- 10×15 inch jelly roll pan (this size gives the perfect roll thickness)
- Parchment paper (trust me, don’t try skipping this!)
- Electric mixer (hand mixer works too if that’s all you’ve got)
- Clean kitchen towel (the flour sack kind works best)
- Sifter or fine mesh strainer (for lump-free flour)
- Piping bag with small round tip (or zip-top bag with corner snipped)
- Rubber spatula (for gentle folding)
That’s it! No fancy gadgets required – just basic baking tools ready to create some Halloween magic.
Step-by-Step Instructions for the Haunted Forest Cake Roll
Okay, let’s bring this spooky creation to life! Follow these steps carefully, and you’ll have a haunted forest cake roll that looks like it came straight from a witch’s kitchen. Don’t worry – I’ve included all my little tricks to prevent common disasters (like cracked cakes – we’ve all been there!).
Preparing the Cake Batter
First, preheat your oven to 375°F (190°C) – this gives the pan time to heat evenly while you mix. Now, the magic starts with the eggs and sugar. Beat them together with your electric mixer for a full 3-4 minutes until they’re pale, thick, and form ribbons when you lift the beaters. This is crucial for that light, spongy texture! Add the vanilla, then gently sift in the flour, baking powder, and salt. I fold with a rubber spatula using big, slow motions – overmixing is the enemy here. The batter should look like fluffy clouds when it’s ready.
Baking and Rolling the Cake
Spread the batter evenly onto your parchment-lined pan (an offset spatula works wonders here). Bake for 12-15 minutes until the top springs back when lightly touched. Here’s my secret: while it bakes, lay out a clean towel and dust it generously with powdered sugar. The moment the cake comes out, flip it onto the sugared towel! Carefully peel off the parchment (hot, but worth it), then immediately roll it up from the short end with the towel inside. Let it cool completely like this – the towel helps it remember its rolled shape. Patience, my little ghosts!
Filling and Decorating the Haunted Forest Cake Roll
Time for the fun part! Whip that cold heavy cream until stiff peaks form – I chill my bowl first for extra volume. Gently unroll the cooled cake (don’t panic if it cracks slightly – we’ll hide that with decorations!). Spread the whipped cream evenly, leaving a 1-inch border. Now re-roll it (without the towel this time) and chill for at least an hour. For the haunted forest: tint your chocolate frosting black with gel coloring (liquid makes it gray – boo!). Pipe twisted tree trunks along the top, adding wispy branches. For ghosts, make little “mounds” with upward swirls – add two black dots for eyes. Voilà – edible spookiness!
Tips for Perfecting Your Haunted Forest Cake Roll
After making this spooky treat more times than I can count, here are my top tricks to haunt-proof your cake roll:
- Gel food coloring is a must – Liquid turns frosting gray, but gel gives that deep, eerie black perfect for haunted trees (I use about 1/4 tsp).
- Chill before slicing – That hour in the fridge sets the shape so your slices come out clean (no ghostly crumbs!).
- Edible glitter = instant magic – A light dusting makes the whipped cream filling look mysteriously misty.
- Piping test run – Practice trees/ghosts on parchment first – even my early attempts looked like blobs!
- Fresh cream whips best – Check your heavy cream’s expiration date – older cream won’t hold its shape.
Remember – cracks just add “character” to your haunted forest! Mine always disappear under spooky decorations.
Ingredient Substitutions and Variations
Don’t stress if you’re missing an ingredient – this haunted forest cake roll is shockingly flexible! Here are my favorite swaps that still deliver spooky deliciousness:
- Whipped cream alternatives: Use equal parts cream cheese whipped with 1/4 cup powdered sugar for a tangier filling (my personal favorite twist!). Or try stabilized whipped cream with a bit of instant pudding mix.
- Frosting flavors: Swap chocolate frosting for vanilla tinted black – the ghosts will still look perfectly eerie. Peanut butter frosting makes a delicious haunted grove too!
- Gluten-free option: Substitute the all-purpose flour with a 1:1 gluten-free blend – just make sure it contains xanthan gum.
- Dairy-free version: Coconut cream whips up beautifully for the filling, and dairy-free chocolate frosting works great for decorating.
The key? Whatever substitutions you make, keep that sense of Halloween magic alive!
Serving Suggestions for the Haunted Forest Cake Roll
This haunted forest cake roll deserves a properly spooky presentation! I love serving it on a black cake stand surrounded by Halloween candy – those candy corn “pumpkins” make perfect edible decor. For drinks, hot cocoa with ghost-shaped marshmallows or mulled cider steaming in cauldron mugs complete the eerie vibe. At kids’ parties, I slice it thick and serve with “witches’ brew” lime sherbet punch – the green against the black frosting always gets screams (the good kind!).
Storage and Reheating Instructions
This haunted forest cake roll keeps its spooky charm beautifully in the fridge! Just wrap it tightly in plastic wrap (I press the wrap right against the cut ends to prevent drying). It’ll stay fresh for up to 3 days – though mine never lasts that long! If you must reheat a slice, 10 seconds in the microwave softens it perfectly without melting your ghostly decorations.
Nutritional Information
Here’s the spooky scoop on what’s in each slice of this haunted forest cake roll (based on 8 servings): About 320 calories with 14g fat (8g saturated), 42g carbs, and 5g protein. It’s got 28g sugar from all that delicious sweetness – consider it a Halloween treat! Remember, these numbers can change depending on your specific ingredients. I always say: nutritional info is more of a friendly ghost than an exact science – it’ll vary slightly based on brands and how generously you pipe those chocolate trees!
FAQs About the Haunted Forest Cake Roll
Q1. Can I make this haunted forest cake roll ahead of time?
Absolutely! The cake roll actually tastes better after chilling overnight. Bake and roll it with the whipped cream filling up to 24 hours in advance, then add the spooky chocolate decorations right before serving. Just keep it wrapped tightly in the fridge – the whipped cream stays perfectly fresh.
Q2. What’s the best way to pipe the haunted forest design?
Start with chilled black frosting – it holds its shape better. For trees, use a small round tip and pipe vertical “trunks,” then quickly wiggle your piping bag upward to create twisted branches. Ghosts are even easier – just make little mounds with a swirl at the top! If your first attempts look messy (mine always do), scrape it off and try again – the cake hides all evidence!
Q3. My cake cracked when rolling – help!
Don’t panic! Tiny cracks are normal and easily hidden under decorations. For major cracks, here’s my trick: brush the cake lightly with simple syrup (equal parts sugar and water) before adding the whipped cream – it acts like glue! Remember, even cracked cake rolls taste delicious, and your haunted forest will distract from any imperfections.
Q4. Can I freeze the haunted forest cake roll?
You can freeze the unfilled cake roll for up to a month (wrap it tightly in plastic and foil). Thaw in the fridge overnight before filling and decorating. However, I don’t recommend freezing it with the whipped cream filling – the texture changes. The chocolate decorations also lose their sharpness after freezing.
Q5. How do I get really black frosting?
Gel food coloring is key – I use about 1/4 teaspoon of black gel per 1/2 cup frosting. For extra depth, start with chocolate frosting (it’s already dark) and let the colored frosting sit for 30 minutes – the color deepens over time. If it’s still not spooky enough, a tiny pinch of cocoa powder can help darken it without changing the flavor.
Haunted Forest Cake Roll: A Spooky 15-Minutes Dessert

A spooky haunted forest cake roll perfect for Halloween.
- Prep Time: 25 minutes
- Cook Time: 15 minutes
- Total Time: 1 hour 40 minutes
- Yield: 8 servings 1x
- Category: Dessert
- Method: Baking
- Cuisine: American
- Diet: Vegetarian
Ingredients
- 4 eggs
- 3/4 cup granulated sugar
- 1 tsp vanilla extract
- 3/4 cup all-purpose flour
- 1 tsp baking powder
- 1/4 tsp salt
- 1/4 cup powdered sugar
- 1 cup heavy cream
- 1/2 cup chocolate frosting
- Black food coloring
Instructions
- Preheat oven to 375°F (190°C). Line a jelly roll pan with parchment paper.
- Beat eggs and granulated sugar until fluffy. Add vanilla.
- Sift flour, baking powder, and salt. Fold into egg mixture.
- Spread batter evenly onto prepared pan. Bake for 12-15 minutes.
- Dust a clean towel with powdered sugar. Flip warm cake onto towel.
- Roll cake with towel from the short end. Cool completely.
- Whip heavy cream until stiff peaks form. Unroll cake and spread cream.
- Re-roll cake without towel. Chill for 1 hour.
- Tint chocolate frosting black. Pipe haunted forest trees and ghosts.
Notes
- Use gel food coloring for darker black frosting
- Chill cake before slicing for clean cuts
- Add edible glitter for extra spooky effect
Nutrition
- Serving Size: 1 slice
- Calories: 320
- Sugar: 28g
- Sodium: 150mg
- Fat: 14g
- Saturated Fat: 8g
- Unsaturated Fat: 5g
- Trans Fat: 0g
- Carbohydrates: 42g
- Fiber: 1g
- Protein: 5g
- Cholesterol: 120mg