3-Ingredient Homemade Fruit Preserves That Taste Magical
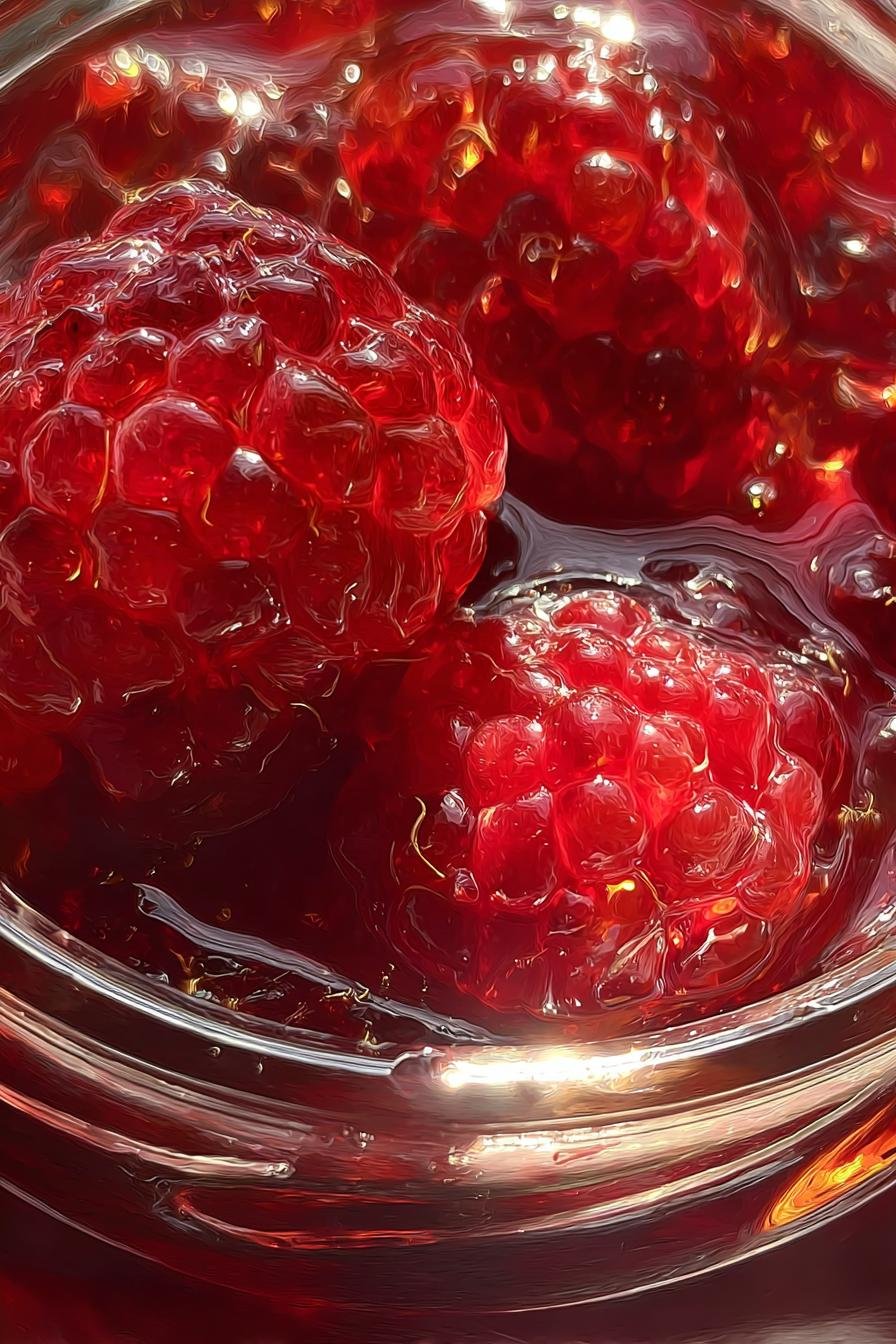
There’s something magical about turning fresh fruit into homemade preserves – that moment when the sweet, bubbling mixture on your stove thickens into spoonfuls of pure joy. I still remember my first batch (strawberry, of course) and how proud I felt when those little jars sealed with that satisfying “pop!” What I love most? It’s easier than you think – just fruit, sugar, and a bit of patience – and the results are so versatile. Spread it on toast, swirl it into yogurt, or (my personal favorite) eat it straight from the spoon when no one’s looking. Every summer when the fruit stands overflow, my kitchen transforms into a preserving factory, and honestly? I wouldn’t have it any other way.
Why You’ll Love These Homemade Fruit Preserves
Once you try making your own homemade fruit preserves, you’ll never go back to store-bought. Here’s why:
- So easy even I can’t mess it up – just three simple ingredients and one pot? That’s my kind of recipe.
- Your kitchen, your rules – use whatever fruit looks best at the market (or is about to go soft in your fridge). I’ve made peach-vanilla, strawberry-basil, even blueberry-lime when feeling adventurous!
- They last forever – properly sealed jars keep for a year, though in my house they never last that long.
- Instant gift cred – tie a ribbon around a jar and suddenly you’re Martha Stewart (but with way less effort).
- That unbeatable taste – store shelves can’t compete with preserves made from fruit you picked at its peak.
Seriously, once you hear that first satisfying “pop” of a sealing jar, you’ll be hooked.
Ingredients for Homemade Fruit Preserves
Gather these simple ingredients – that’s all you need to create magic in a jar! I’ve learned through trial and error (and a few sticky kitchen disasters) that precise measurements make all the difference here.
- 4 cups fresh fruit, chopped – Pick whatever’s in season and smells amazing at the market. For berries, hull strawberries first; for stone fruits, remove pits and chop into 1/2-inch pieces. Pro tip: slightly underripe fruit gives better texture!
- 2 cups granulated sugar – Yes, it seems like a lot, but trust me – this amount ensures proper preservation and that perfect jammy consistency. For tart fruits like blackberries, you might even want to add an extra 1/4 cup.
- 1/4 cup freshly squeezed lemon juice – None of that bottled stuff! The acidity helps the preserves set and brightens the fruit flavor. About 2 medium lemons should do it – roll them first to get more juice.
That’s it – just three ingredients standing between you and homemade fruit preserves that’ll make your morning toast sing. Now let’s get cooking!
Equipment You’ll Need
Don’t worry – you probably already have everything needed to make these homemade fruit preserves. Here’s your quick checklist:
- Large, heavy-bottomed pot (trust me, jam bubbles like crazy and you need the space)
- Wooden spoon (metal conducts too much heat and can scorch your precious preserves)
- Sterilized jars with lids (I run mine through the dishwasher’s sanitize cycle)
- Canning funnel (unless you enjoy wiping sticky jam off jar rims for 20 minutes)
- Ladle (for getting every last bit of that fruity goodness into jars)
That’s it! Now let’s make some magic happen.
How to Make Homemade Fruit Preserves
Okay, let’s get to the fun part – turning those beautiful ingredients into jars of homemade fruit preserves you’ll be proud of! I’ll walk you through each step just like my grandma taught me (with a few of my own hard-learned tricks thrown in).
Preparing the Fruit
First things first – give your fruit some love! Wash everything thoroughly (even if it looks clean) and pat dry. Now for the chopping – this matters more than you’d think. For berries, I quarter strawberries and leave smaller berries whole. Stone fruits? Aim for 1/2-inch chunks – big enough to give texture but small enough to cook evenly. Measure exactly 4 cups after chopping – too much fruit throws off the sugar balance. Toss everything with the lemon juice right away to prevent browning.
Cooking the Preserves
Here’s where the magic happens! Combine fruit, sugar, and lemon juice in your pot over medium heat (not high – patience pays off here). Stir constantly at first until the sugar dissolves completely. Then switch to frequent stirring – about every 2 minutes – scraping the bottom to prevent scorching. After 15-20 minutes, you’ll notice the mixture thickening. Time for the plate test: spoon a bit onto a chilled plate, wait 30 seconds, then push with your finger. If it wrinkles slightly, it’s ready! If not, cook 5 more minutes and test again.
Jarring and Sealing
While your preserves cook, keep those sterilized jars warm (I put mine in a 200°F oven). When ready, carefully ladle the hot preserves into jars using your funnel, leaving 1/4-inch headspace. Wipe the rims spotless (any residue prevents sealing), then screw on lids fingertip-tight. Process in a boiling water bath for 10 minutes if storing at room temperature. Listen for that glorious “pop” as they cool – music to any preserve-maker’s ears!
See? Making homemade fruit preserves isn’t just easy – it’s downright therapeutic. Now let’s talk about keeping all that deliciousness perfect!
Tips for Perfect Homemade Fruit Preserves
After making more batches than I can count (and yes, a few flops along the way), here are my hard-earned secrets for perfect homemade fruit preserves every time:
- Too tart? Add sugar 1/4 cup at a time during cooking until balanced – some fruits need it!
- Not setting? A teaspoon of powdered pectin mixed with 1/4 cup sugar does wonders for stubborn batches.
- Fruit floating? Let the cooked preserves sit off heat for 5 minutes before jarring – it redistributes beautifully.
- Scorching? That’s why we use medium heat and scrape constantly – burned jam can’t be saved!
- Too thick? Stir in a tablespoon of hot water at a time until it’s just right.
Remember – even “imperfect” preserves still taste amazing on pancakes!
Variations for Your Homemade Fruit Preserves
Once you’ve mastered the basic recipe, the real fun begins – making these homemade fruit preserves uniquely yours! Here are my favorite ways to mix things up:
- Herb it up – Toss in a few sprigs of rosemary with peaches or basil with strawberries during cooking (remove before jarring). The subtle herbal notes will wow everyone.
- Citrus blast – Add the zest of one orange or lemon to berry preserves for a bright kick. My blueberry-lemon combo disappears faster than I can make it!
- Spice route – A cinnamon stick in apple preserves or a pinch of cardamom in pear transforms ordinary into extraordinary.
- Boozy twist – Splash in a tablespoon of bourbon with peaches or Chambord with raspberries for grown-up preserves (just don’t process these – store in fridge).
The possibilities are endless – what flavor will you create first?
Storing and Using Homemade Fruit Preserves
Properly sealed jars of homemade fruit preserves will keep beautifully in a cool, dark place for up to a year – though I challenge you to make them last that long! Once opened, store in the fridge where they’ll stay fresh for about a month (if you don’t eat them all first). Beyond the classic toast topping, try these fun ideas:
- Swirl into plain yogurt or oatmeal for instant flavor
- Use as a glaze for roasted meats (peach preserves on pork = heaven!)
- Layer with whipped cream and cake for quick trifles
- Mix into salad dressings for fruity vinaigrettes
- My secret? A spoonful straight from the jar when I need a sweet pick-me-up!
Trust me, you’ll find endless ways to enjoy your preserves once you start getting creative!
Nutritional Information for Homemade Fruit Preserves
Let’s talk numbers – but keep in mind, these are just estimates! The exact nutritional values for your homemade fruit preserves will vary depending on the fruit you use, how much sugar you add, and even the brand of ingredients. Here’s a general idea per tablespoon (because let’s be real, who stops at just one?):
- Calories: 50
- Sugar: 12g
- Sodium: 0mg
- Fat: 0g
- Carbohydrates: 13g
- Fiber: 0.5g
- Protein: 0g
Sure, it’s not diet food, but when you compare it to store-bought preserves packed with preservatives, this homemade version feels like a win. Plus, you’re getting real fruit and knowing exactly what’s in it – no mysterious ingredients here! If you’re watching sugar, you can experiment with reducing it slightly or using low-sugar pectin, but keep in mind it might affect the shelf life and texture. Bottom line? Enjoy in moderation, and savor every spoonful!
Common Questions About Homemade Fruit Preserves
Over the years, I’ve fielded every question imaginable about making homemade fruit preserves. Here are the ones that pop up most often (along with my tested answers!):
- “Can I cut back on the sugar?” You can, but be careful – sugar helps preserve and set the jam. For every cup you reduce, add 1 tablespoon lemon juice and store preserves in the fridge (they’ll only last about a month).
- “Why are my preserves runny?” They might need more cook time (do the plate test again!). Next batch, try adding 1 teaspoon pectin with your sugar at the start.
- “Do I have to process the jars?” Only if storing at room temperature. For fridge preserves (eaten within a month), just seal and let cool.
- “Can I use frozen fruit?” Absolutely! Thaw first and drain excess liquid – frozen berries work especially well.
- “How do I know if preserves went bad?” Mold, funky smells, or bulging lids mean toss it. Properly sealed jars last up to a year!
Still stumped? Just remember – even “failed” preserves make great ice cream toppings!
Print3-Ingredient Homemade Fruit Preserves That Taste Magical

Make your own homemade fruit preserves with this simple recipe. Perfect for spreading on toast, adding to yogurt, or gifting to friends.
- Prep Time: 15 minutes
- Cook Time: 45 minutes
- Total Time: 60 minutes
- Yield: 3 jars 1x
- Category: Preserves
- Method: Stovetop
- Cuisine: International
- Diet: Vegetarian
Ingredients
- 4 cups fresh fruit (e.g., strawberries, blueberries, or peaches)
- 2 cups granulated sugar
- 1/4 cup lemon juice
Instructions
- Wash and chop the fruit into small pieces.
- Combine the fruit, sugar, and lemon juice in a large pot.
- Cook over medium heat, stirring frequently, until the mixture thickens.
- Test the consistency by placing a small amount on a cold plate. If it gels, it’s ready.
- Pour the preserves into sterilized jars and seal.
Notes
- Use ripe fruit for the best flavor.
- Store preserves in a cool, dark place for up to a year.
- Sterilize jars and lids before use to ensure safety.
Nutrition
- Serving Size: 1 tablespoon
- Calories: 50
- Sugar: 12g
- Sodium: 0mg
- Fat: 0g
- Saturated Fat: 0g
- Unsaturated Fat: 0g
- Trans Fat: 0g
- Carbohydrates: 13g
- Fiber: 0.5g
- Protein: 0g
- Cholesterol: 0mg