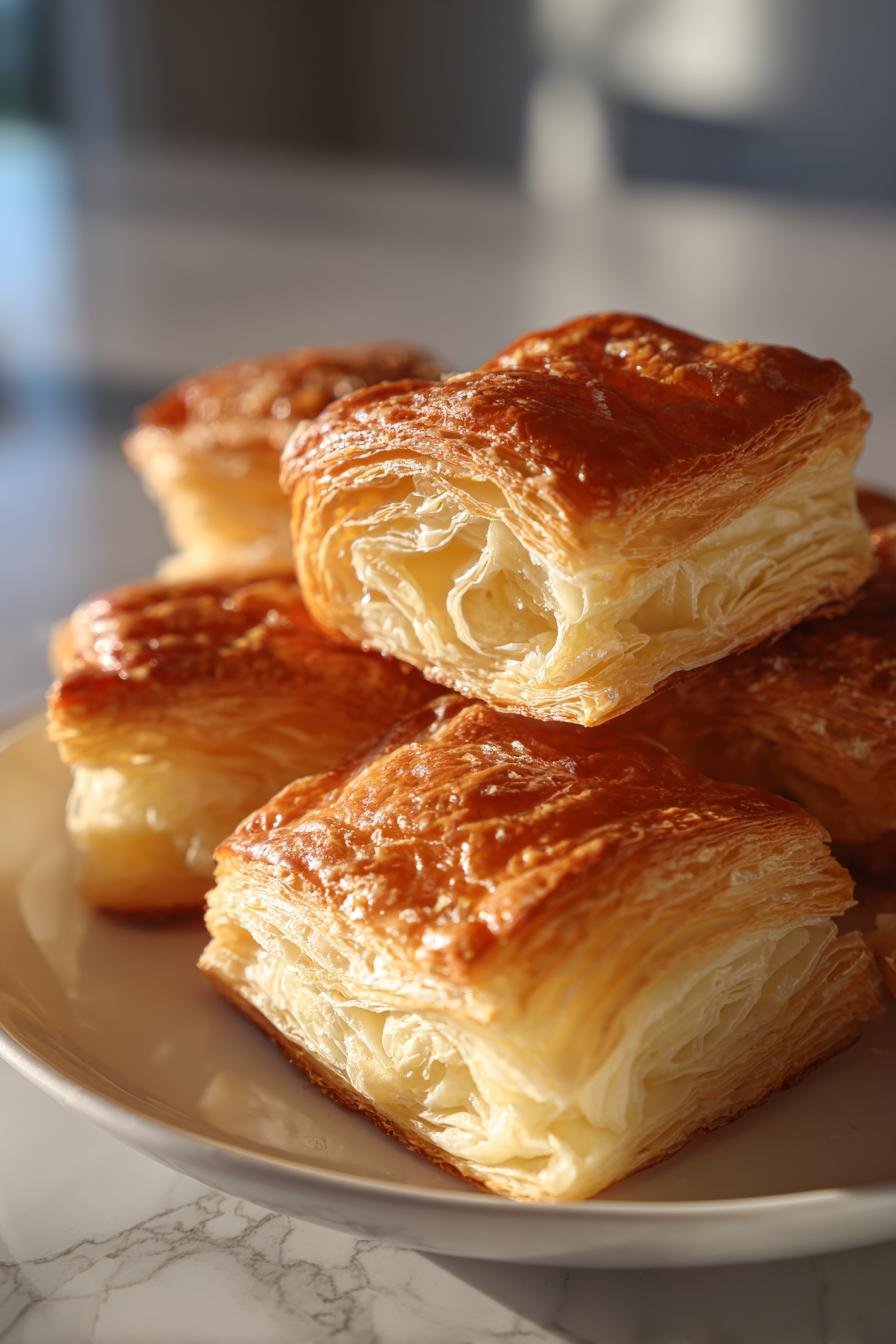
Homemade Puff Pastry Recipes for Delicious Treats!
Introduction to Homemade Puff Pastry Recipes
Welcome to the delightful world of homemade puff pastry recipes! If you’re like me, juggling a busy life while trying to whip up something special for your family can feel overwhelming. But fear not! This recipe is your secret weapon for creating impressive treats without spending hours in the kitchen. Imagine the joy on your loved ones’ faces when they bite into a flaky, buttery pastry that you made from scratch. It’s not just about the food; it’s about the love and effort you put into every layer. Let’s dive in and make some magic happen!
Why You’ll Love This Homemade Puff Pastry Recipe
This homemade puff pastry recipe is a game-changer for busy moms and professionals alike. It’s surprisingly easy to make, allowing you to create delicious treats without the fuss. The taste? Oh, it’s heavenly! Flaky, buttery layers that melt in your mouth will impress even the pickiest eaters. Plus, you can prepare it ahead of time, making it a perfect solution for those hectic weeknights or special occasions. Trust me, you’ll love it!
Ingredients for Homemade Puff Pastry Recipes
Gathering the right ingredients is the first step to creating your homemade puff pastry masterpiece. Here’s what you’ll need:
- All-purpose flour: This is the backbone of your pastry. It provides structure and helps create those delightful layers.
- Salt: A pinch of salt enhances the flavor of the pastry, making it more delicious.
- Unsalted butter: The star of the show! Chilled and cubed, it creates the flaky texture we all love. Make sure it’s very cold for the best results.
- Cold water: This helps bring the dough together. The colder, the better, as it keeps the butter from melting.
Optional ingredients can include a splash of vinegar or lemon juice to enhance the dough’s elasticity. If you’re looking for a healthier twist, consider using whole wheat flour instead of all-purpose flour. Just remember, the texture may vary a bit.
For exact measurements, check the bottom of the article where you can find everything listed for easy printing. Happy baking!
How to Make Homemade Puff Pastry Recipes
Now that we have our ingredients ready, let’s get into the fun part—making the homemade puff pastry! Follow these simple steps, and you’ll be on your way to creating delicious treats that will wow your family and friends.
Step 1: Mix Flour and Salt
Start by combining the all-purpose flour and salt in a large bowl. This step is crucial as it creates the base for your pastry. The salt enhances the flavor, making your pastry taste even better. Use a whisk or fork to mix them well, ensuring the salt is evenly distributed throughout the flour.
Step 2: Incorporate Chilled Butter
Next, add the chilled, cubed butter to the flour mixture. Using your fingers or a pastry cutter, mix until the mixture resembles coarse crumbs. The cold temperature of the butter is key here; it helps create those flaky layers we all love. If the butter warms up too much, your pastry won’t be as light and airy.
Step 3: Add Cold Water
Now, it’s time to bring the dough together. Gradually add the cold water, mixing gently with a fork until the dough starts to form. You want it to be moist but not sticky. The right texture is essential for achieving that perfect puff pastry. If it feels too dry, add a little more water, one tablespoon at a time.
Step 4: Knead and Shape
Once the dough comes together, turn it out onto a lightly floured surface. Knead it gently for just a minute or two. You want to shape it into a rectangle, which will help with the rolling process later. Be careful not to over-knead; we want to keep those layers intact!
Step 5: Chill the Dough
Wrap your dough in plastic wrap and refrigerate it for at least 30 minutes. Chilling is vital as it firms up the butter, making it easier to roll out. This step also helps the gluten relax, resulting in a tender pastry. Trust me, patience pays off here!
Step 6: Roll and Fold
After chilling, take the dough out and roll it out on a floured surface into a large rectangle. Then, fold it into thirds, like a letter. This rolling and folding process creates those beautiful layers. Remember to use a light touch; pressing too hard can ruin the delicate structure.
Step 7: Repeat and Chill Again
Repeat the rolling and folding process a few more times, chilling the dough in between each round. This step is crucial for achieving that flaky texture. Each time you roll and fold, you’re creating more layers, which will puff up beautifully when baked. After the final fold, chill the dough one last time before using it in your favorite recipes.
Tips for Success
- Always use very cold butter and water for the best results.
- Keep your work surface and rolling pin floured to prevent sticking.
- Don’t rush the chilling process; it’s key for flaky layers.
- Use a light touch when rolling out the dough to maintain its structure.
- Store any unused dough in the refrigerator for up to three days.
Equipment Needed for Homemade Puff Pastry Recipes
- Mixing bowl: A large bowl for combining ingredients. A sturdy pot can work in a pinch.
- Pastry cutter or fork: For cutting in the butter. Your fingers can also do the job!
- Rolling pin: Essential for rolling out the dough. A wine bottle can serve as a fun alternative.
- Plastic wrap: To cover the dough while chilling. A clean kitchen towel can be used instead.
Variations of Homemade Puff Pastry Recipes
- Herbed Puff Pastry: Add dried herbs like thyme or rosemary to the flour for a fragrant twist.
- Cheese Puff Pastry: Incorporate grated cheese, such as cheddar or parmesan, into the dough for a savory flavor.
- Whole Wheat Puff Pastry: Substitute half of the all-purpose flour with whole wheat flour for a healthier option.
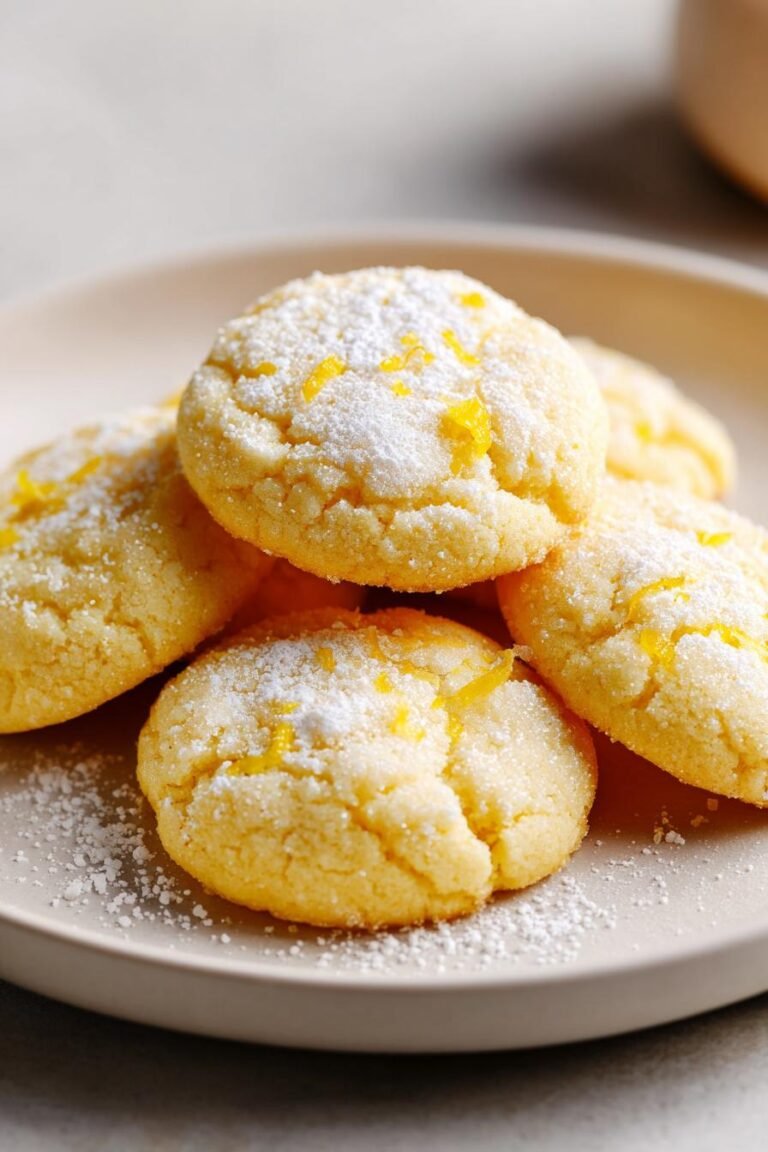
- Sweet Puff Pastry: Mix in a tablespoon of sugar and a dash of cinnamon for a sweet treat, perfect for desserts.
- Gluten-Free Puff Pastry: Use a gluten-free flour blend to make this recipe suitable for those with gluten sensitivities.
Serving Suggestions for Homemade Puff Pastry Recipes
- Pair your puff pastry with a fresh garden salad for a light meal.
- Serve with a side of creamy soup, like tomato basil or butternut squash.
- For a sweet touch, enjoy with a scoop of vanilla ice cream or fresh berries.
- Presentation tip: Dust with powdered sugar or drizzle with chocolate for an elegant finish.
FAQs about Homemade Puff Pastry Recipes
As you embark on your homemade puff pastry journey, you might have a few questions. Here are some common queries I’ve encountered, along with helpful answers to guide you along the way.
Can I make homemade puff pastry ahead of time?
Absolutely! You can prepare the dough in advance and store it in the refrigerator for up to three days. Just remember to wrap it tightly in plastic wrap to keep it fresh. This makes it a fantastic option for busy weeknights!
What can I use if I don’t have a rolling pin?
No rolling pin? No problem! A clean wine bottle works wonders as a makeshift rolling pin. Just make sure it’s smooth and floured to prevent sticking. It’s a fun little hack that can save the day!
How do I know when my puff pastry is done baking?
Your puff pastry is ready when it’s golden brown and puffy. The layers should be distinct and flaky. If you’re unsure, a quick poke with a toothpick can help check for doneness. It should feel light and airy!
Can I freeze homemade puff pastry?
Yes, you can freeze your homemade puff pastry! Just wrap it tightly in plastic wrap and place it in an airtight container. It can last in the freezer for up to three months. When you’re ready to use it, simply thaw it in the refrigerator overnight.
What are some popular fillings for puff pastry?
The possibilities are endless! You can fill your puff pastry with sweet options like fruit preserves or chocolate, or savory choices like cheese, spinach, or mushrooms. Get creative and let your taste buds guide you!
Final Thoughts on Homemade Puff Pastry Recipes
Creating homemade puff pastry is more than just a cooking task; it’s a delightful experience that brings joy to your kitchen. The process, though simple, allows you to connect with the ingredients and unleash your creativity. Each flaky layer tells a story of love and effort, making every bite a celebration. Whether you’re preparing a special treat for your family or impressing guests, this recipe is your ticket to culinary success. So roll up your sleeves, embrace the magic of puff pastry, and enjoy the delicious rewards that come from your hard work!
PrintHomemade Puff Pastry Recipes for Delicious Treats!

A collection of homemade puff pastry recipes that are perfect for creating delicious treats.
- Prep Time: 30 minutes
- Cook Time: 0 minutes
- Total Time: 30 minutes
- Yield: 1 batch of puff pastry 1x
- Category: Baking
- Method: Baking
- Cuisine: French
- Diet: Vegetarian
Ingredients
- 2 cups all-purpose flour
- 1 teaspoon salt
- 1 cup unsalted butter, chilled and cubed
- 1/2 cup cold water
Instructions
- In a large bowl, mix flour and salt.
- Add the chilled butter and mix until the mixture resembles coarse crumbs.
- Stir in cold water until the dough comes together.
- Knead the dough gently and shape it into a rectangle.
- Wrap in plastic wrap and refrigerate for at least 30 minutes.
- Roll out the dough on a floured surface and fold it into thirds.
- Repeat the rolling and folding process several times to create layers.
- Chill the dough again before using it for your favorite recipes.
Notes
- Ensure the butter is very cold for the best results.
- Use a light touch when rolling out the dough to maintain the layers.
- Store any unused dough in the refrigerator for up to 3 days.
Nutrition
- Serving Size: 1/10 of the batch
- Calories: 150
- Sugar: 0g
- Sodium: 200mg
- Fat: 10g
- Saturated Fat: 6g
- Unsaturated Fat: 3g
- Trans Fat: 0g
- Carbohydrates: 15g
- Fiber: 1g
- Protein: 2g
- Cholesterol: 20mg